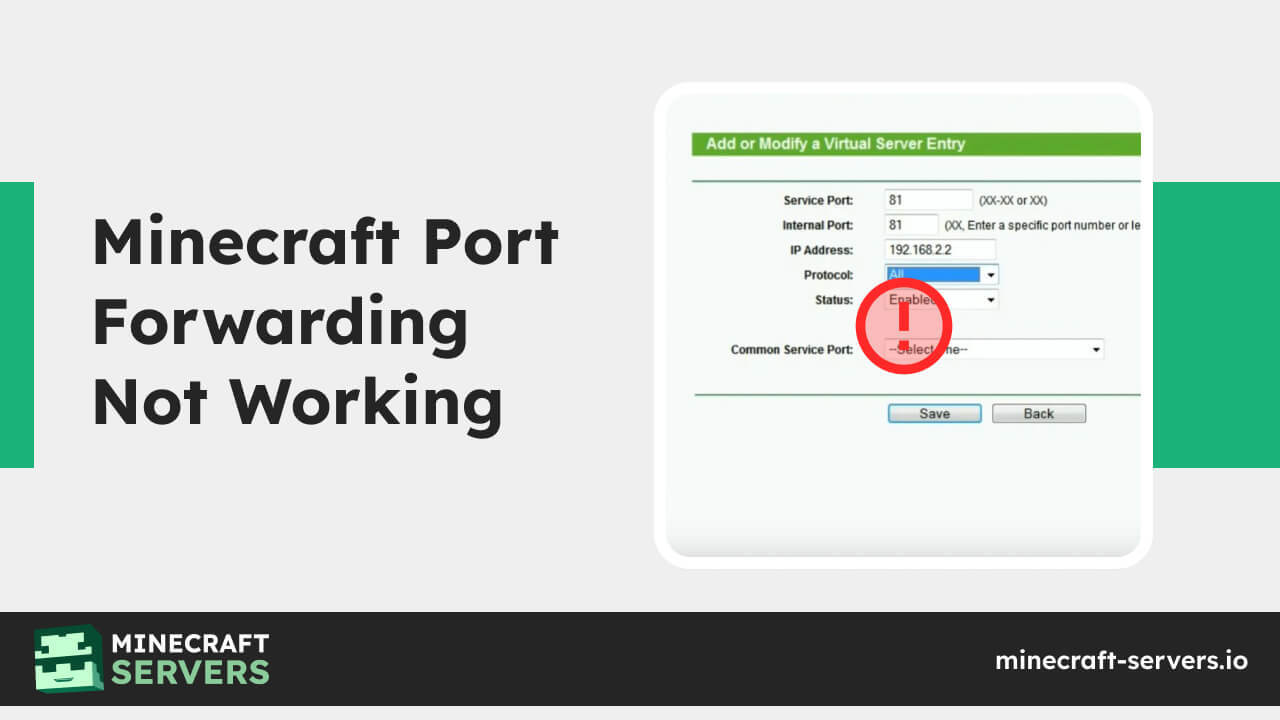
Minecraft Port Forwarding Not Working
Minecraft is a beloved sandbox game that allows players to build, explore, and survive in a blocky world filled with endless possibilities.
One of the game's most exciting features is multiplayer mode, where players can connect and collaborate with friends or strangers from around the globe.
However, players often encounter frustrating issues with Minecraft Port Forwarding Not Working, hindering their ability to establish a stable connection in multiplayer mode.
Introduction to Minecraft Port Forwarding
Port forwarding is a networking technique that allows external devices to access specific services on a private network. In the context of Minecraft, port forwarding is necessary for hosting multiplayer servers and allowing other players to connect to your world.
Understanding Port Forwarding
When a player hosts a Minecraft server on their local machine, the server software listens for incoming connections on a specific port (usually 25565). Port forwarding instructs the router to forward incoming traffic on that port to the local machine running the Minecraft server.
Fix Minecraft Port Forwarding Not Working
Checking Router Settings
-
Access your router's configuration interface through a web browser using its IP address.
-
Log in with your username and password, typically found in the router's manual.
-
Go to the virtual server settings or port forwarding area.
-
Verify the port forwarding rule for Minecraft, ensuring correct port number (usually 25565) and internal IP address.
-
All router settings should be saved.
-
Test connectivity by having someone attempt to connect to your Minecraft server from an external device.
Confirm successful connection to ensure proper port forwarding setup.
Verifying Firewall Configurations
On Your Windows Device:
Access Windows Defender Firewall settings in Control Panel or Settings. Look for any rules blocking Minecraft connections.
On Your Router:
-
Log in to your router's configuration page.
-
Navigate to the firewall settings section.
-
Check for any rules blocking incoming Minecraft traffic.
Temporarily Disable Firewall:
-
Disable firewall protection on both your Windows device and router.
-
Test Minecraft connectivity to see if the issue is resolved.
Adjust Firewall Settings:
-
If disabling the firewall resolves the issue, adjust settings to allow Minecraft traffic.
-
Ensure correct port forwarding rules or firewall exceptions for Minecraft.
Re-enable Firewall:
-
Once troubleshooting is complete, re-enable firewall protection on both devices.
-
This ensures ongoing network security while allowing Minecraft connections.
Testing Port Forwarding
Using Port Checker Tool:
-
Visit a port checker website like portchecker.co.
-
Enter the Minecraft port number (usually 25565) and your external IP address.
-
Click "Check Port" to verify if the port is open and properly forwarded.
Interpreting Results:
-
If the port is open, it indicates successful port forwarding.
-
If closed or not reachable, there may be issues with the port forwarding setup.
-
Troubleshoot router configurations or firewall settings accordingly.
Double-Check Port Number and IP Address
Confirm Port Number:
Ensure the Minecraft server is configured to use the correct port, typically 25565.
Check Router Configuration:
Verify that port forwarding on the router directs traffic to the correct port number.
Verify Internal IP Address:
Check the internal IP address of the host machine running the Minecraft server.
Ensure Consistency:
Ensure that the port number in both server settings and router configurations matches.
Confirm IP Address:
Double-check that the internal IP address matches the host machine's assigned address.
Test Connectivity:
After confirming settings, test Minecraft connectivity to ensure proper port forwarding.
Ensure Router Compatibility
Ensuring router compatibility is essential for successful port forwarding in Minecraft. Different router brands may have varying interfaces and settings, requiring specific approaches for configuration.
Router Model and Brand:
Identify the make and model of your router, such as TP-Link Archer C7 or Netgear Nighthawk AC2300.
Check Manufacturer Resources:
-
Go to the resources or support part of the manufacturer's website.
-
Search for your router model and check for compatibility with port forwarding for gaming or specific applications like Minecraft.
Review Router Features:
-
Examine the specifications and features of your router to ensure it supports port forwarding functionality.
-
Look for features like Virtual Server, Port Forwarding, or NAT Forwarding in the router's manual or specifications.
Firmware Updates:
-
Ensure your router's firmware is up-to-date by accessing the router's web interface.
-
Check for firmware updates that may include improvements or fixes related to port forwarding compatibility.
Community Forums and Support:
Visit online forums or communities dedicated to networking or gaming. Search for discussions related to your router model and port forwarding to see if other users have encountered compatibility issues or have tips for configuration.
By following these steps, you can determine if your router is compatible with port forwarding and ensure optimal settings for hosting Minecraft servers.
Updating Router Firmware
Access Router Settings:
-
Open a web browser and enter your router's IP address in the address bar (common addresses are 192.168.0.1 or 192.168.1.1).
-
Log in with your username and password.
Navigate to Firmware Settings:
-
Look for the "Administration," "System," or "Maintenance" tab in the router's interface.
-
Find the "Firmware Update," "Router Upgrade," or similar option.
Check for Updates:
-
Click on the firmware update option.
-
Check for available updates either by clicking a "Check for Updates" button or browsing to the manufacturer's website to download the latest firmware version.
Download Firmware:
If updates are available, download the firmware file to your computer. Ensure you select the correct firmware version for your router model.
Upload Firmware:
-
Return to the router's firmware update page.
-
Select the "Choose File" or "Browse" button and locate the firmware file you have downloaded.
Update Firmware:
-
Click "Upload" or "Update Firmware" to begin the installation process.
-
Wait for the update to complete. Do not interrupt the process or turn off the router during the update.
Restart Router:
Once the firmware update is finished, the router may automatically restart.
If not, manually restart the router by unplugging it for a few seconds and then plugging it back in.
Verify Update:
-
Log back into the router's interface after the restart.
-
Check the firmware version to confirm that it has been successfully updated.
These instructions will help you make sure the firmware on your router is up to date, which will fix compatibility problems and offer the improvements required for port forwarding and other features.
Disable Firewall Temporarily
Access Firewall Settings:
-
Press the Windows key and type "Windows Defender Firewall" in the search bar.
-
From the search results, select "Windows Defender Firewall with Advanced Security."
Turn Off Firewall:
- In the Windows Defender Firewall window, click on "Turn Windows Defender Firewall on or off" in the left-hand panel.
Select Turn Off Windows Defender Firewall:
-
Under both "Private network settings" and "Public network settings," select the option to turn off Windows Defender Firewall.
-
Click "OK" to confirm and disable the firewall.
Verify Disabled Status:
After disabling the firewall, ensure that the status changes to "Off" next to both private and public network settings.
Temporary Disabling:
Remember, this action temporarily disables the firewall protection. After troubleshooting or testing connectivity, remember to re-enable the firewall to maintain security.
You can fix port forwarding problems in Minecraft and other apps by temporarily disabling the Windows Defender Firewall on your Windows device by following these steps.
Alternative Solutions for Minecraft Multiplayer Connectivity
Using VPNs
Utilizing a Virtual Private Network (VPN) can bypass port forwarding requirements for Minecraft multiplayer. Popular VPN brands like NordVPN offer secure tunneling, enabling direct connections between players without the need for manual port forwarding setup on routers.
Hosting via Online Services
Opting for online services for Minecraft server hosting simplifies multiplayer setup. Platforms like Apex Hosting or MCProHosting offer user-friendly interfaces, automatic server setup, and reliable performance.
Users can focus on gameplay rather than dealing with complex router configurations, making it an accessible option for hosting Minecraft servers.
FAQs
How Do I Open Port 25565 For Minecraft Server?
To open port 25565 for a Minecraft server, access your router's settings, navigate to port forwarding, and create a rule directing external traffic on port 25565 to your server's local IP address.
Why Won't My Minecraft Server Bind To A Port?
If your Minecraft server won't bind to a port, it may already be in use or blocked by firewall settings. Ensure no other applications are using the port and check firewall configurations.
Is Minecraft 25565 TCP Or UDP?
Minecraft uses TCP (Transmission Control Protocol) for port 25565. It's crucial for establishing a stable connection in multiplayer mode.
Conclusion
In conclusion, troubleshooting Minecraft port forwarding not working issues requires attention to detail and familiarity with router and firewall configurations.
By double-checking settings, updating firmware, and utilizing alternative solutions like VPNs or online hosting services, players can overcome connectivity challenges and enjoy seamless multiplayer experiences.
Remember to prioritize network security and regularly update router firmware for optimal performance.